Microphone Audio Capture on Mac
This page covers the Mac setup for microphone capture. For how it works under the hood and tips that apply to every platform, see the Microphone Audio Capture overview.
How to Capture Microphone Audio on Mac
- Download Whisperr for Mac (an Apple Silicon
.dmg), open the downloaded file, and drag Whisperr into your Applications folder - Launch Whisperr, then click Allow to grant microphone access (or enable it in System Settings > Privacy & Security > Microphone)
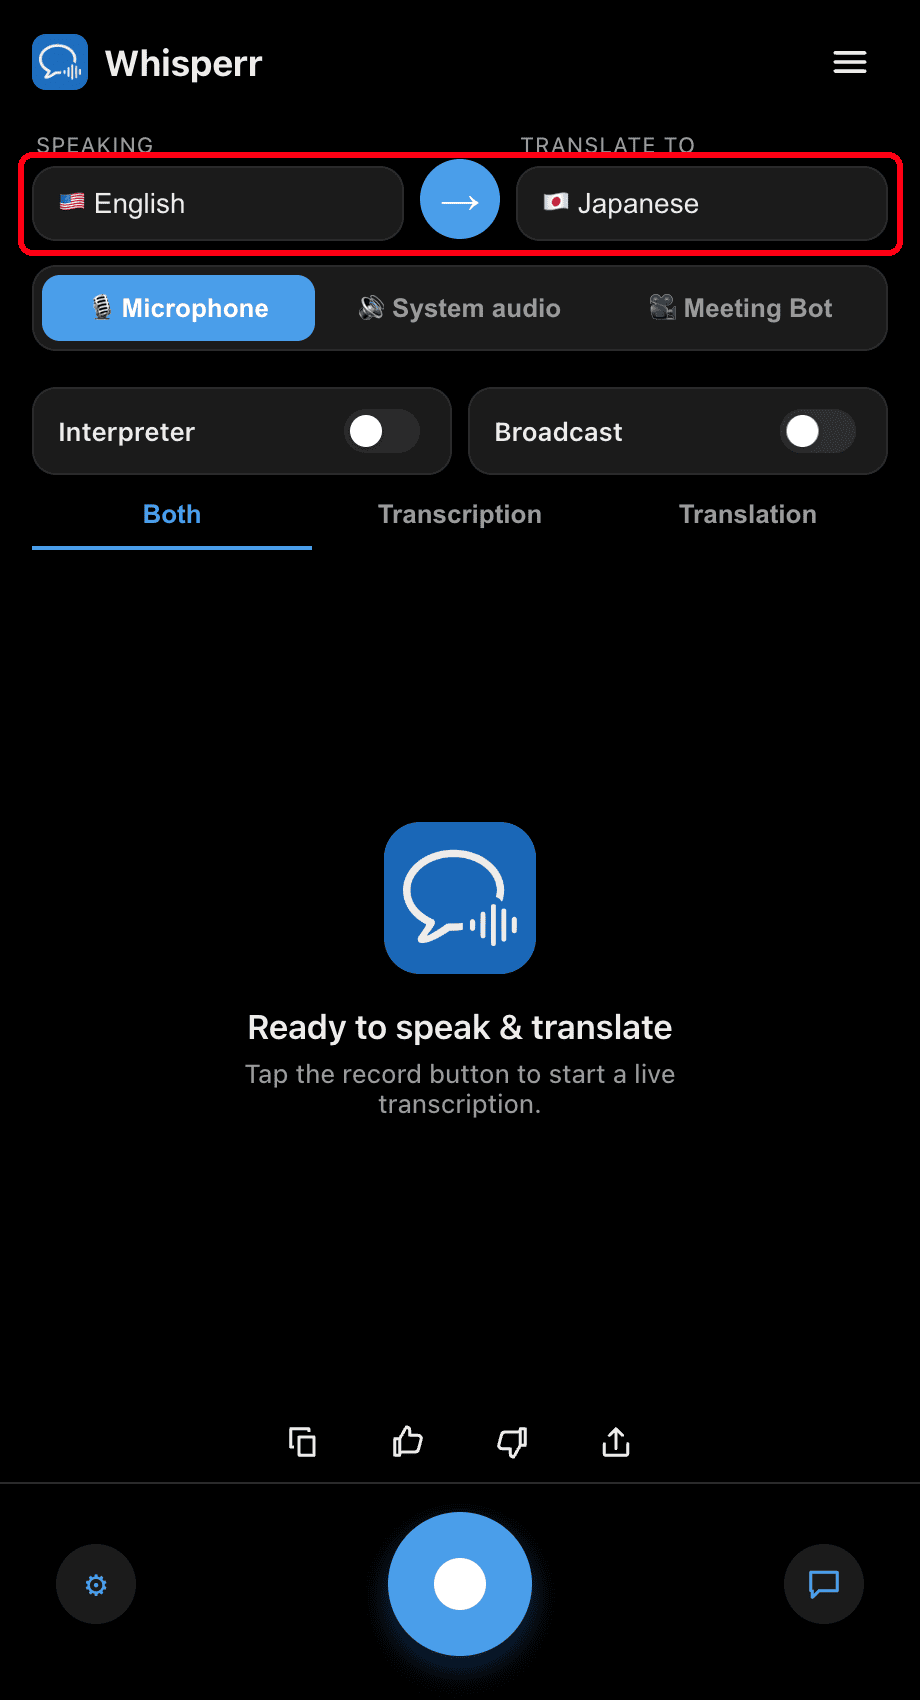
- Set your languages at the top: pick the language you're Speaking and the one to Translate to. Use the → button to swap the direction
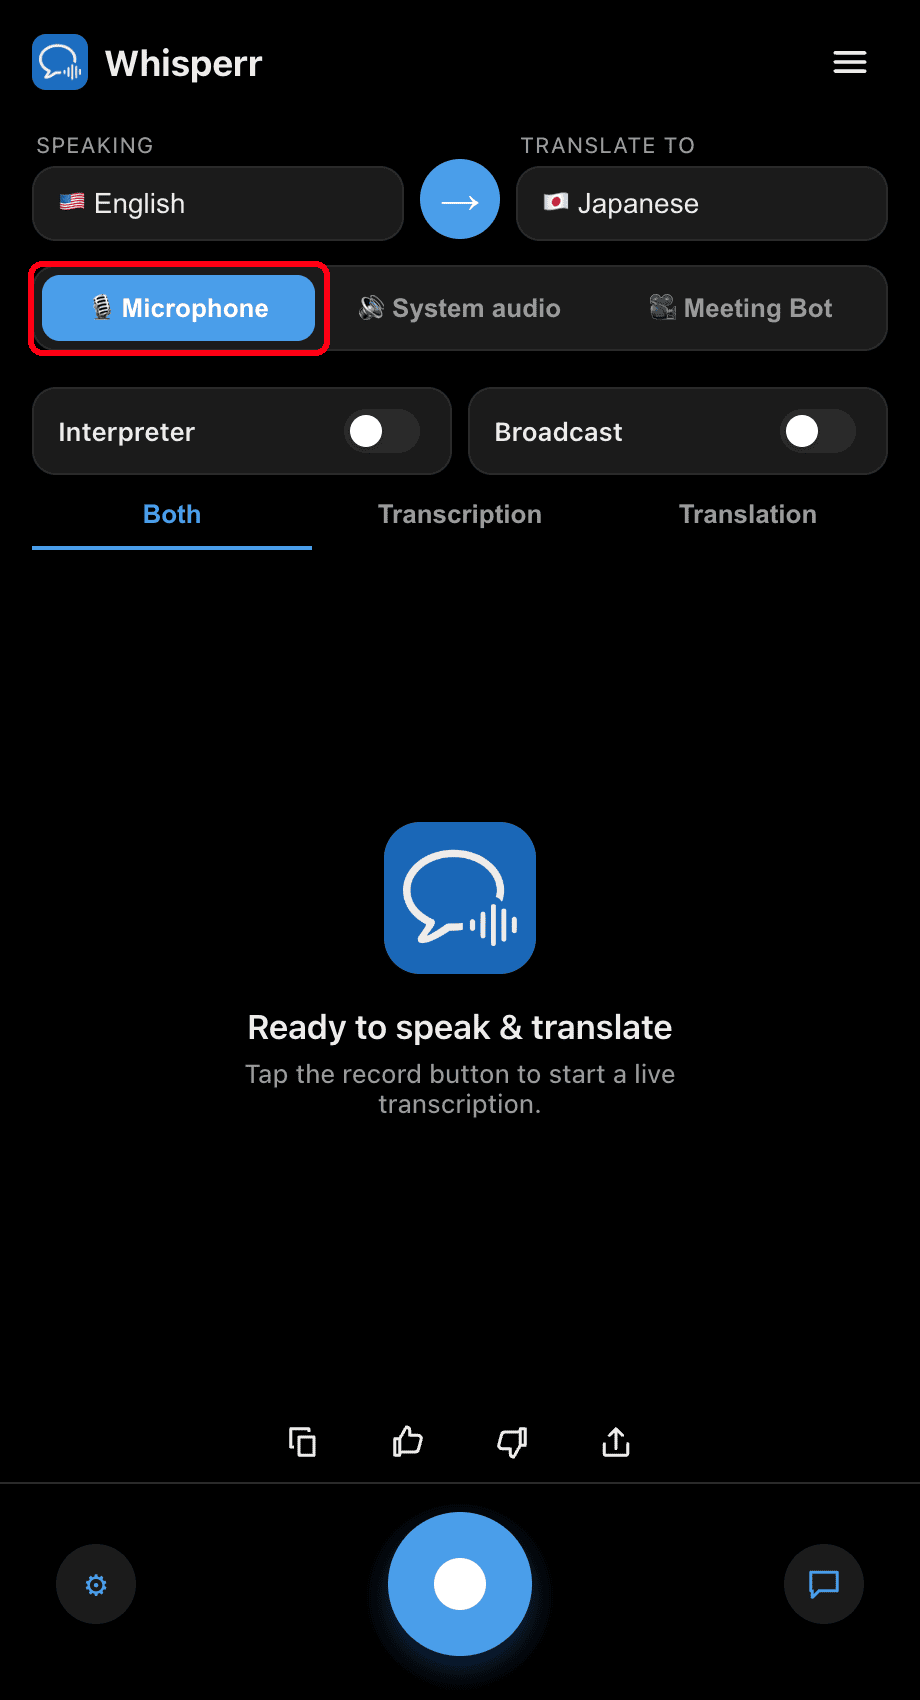
- Make sure the 🎙️ Microphone source is selected (it's the default — the other option, System audio, captures what you hear instead)
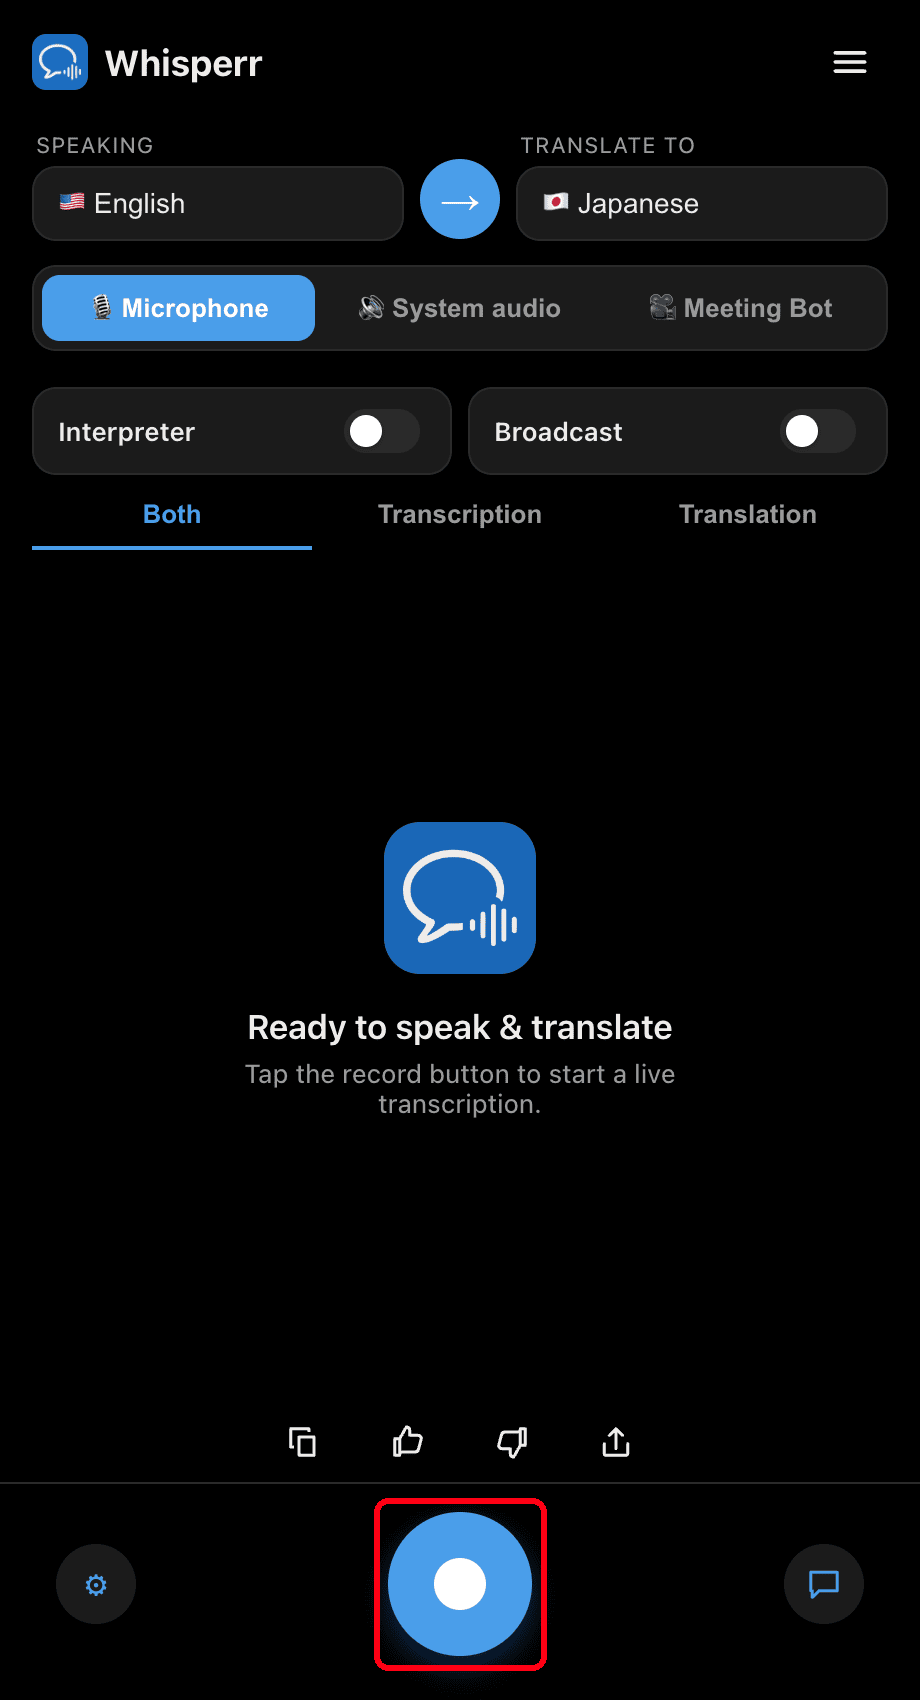
- Click the round record button at the bottom — the status shows Listening… and live transcription appears on screen, with translation into your target language
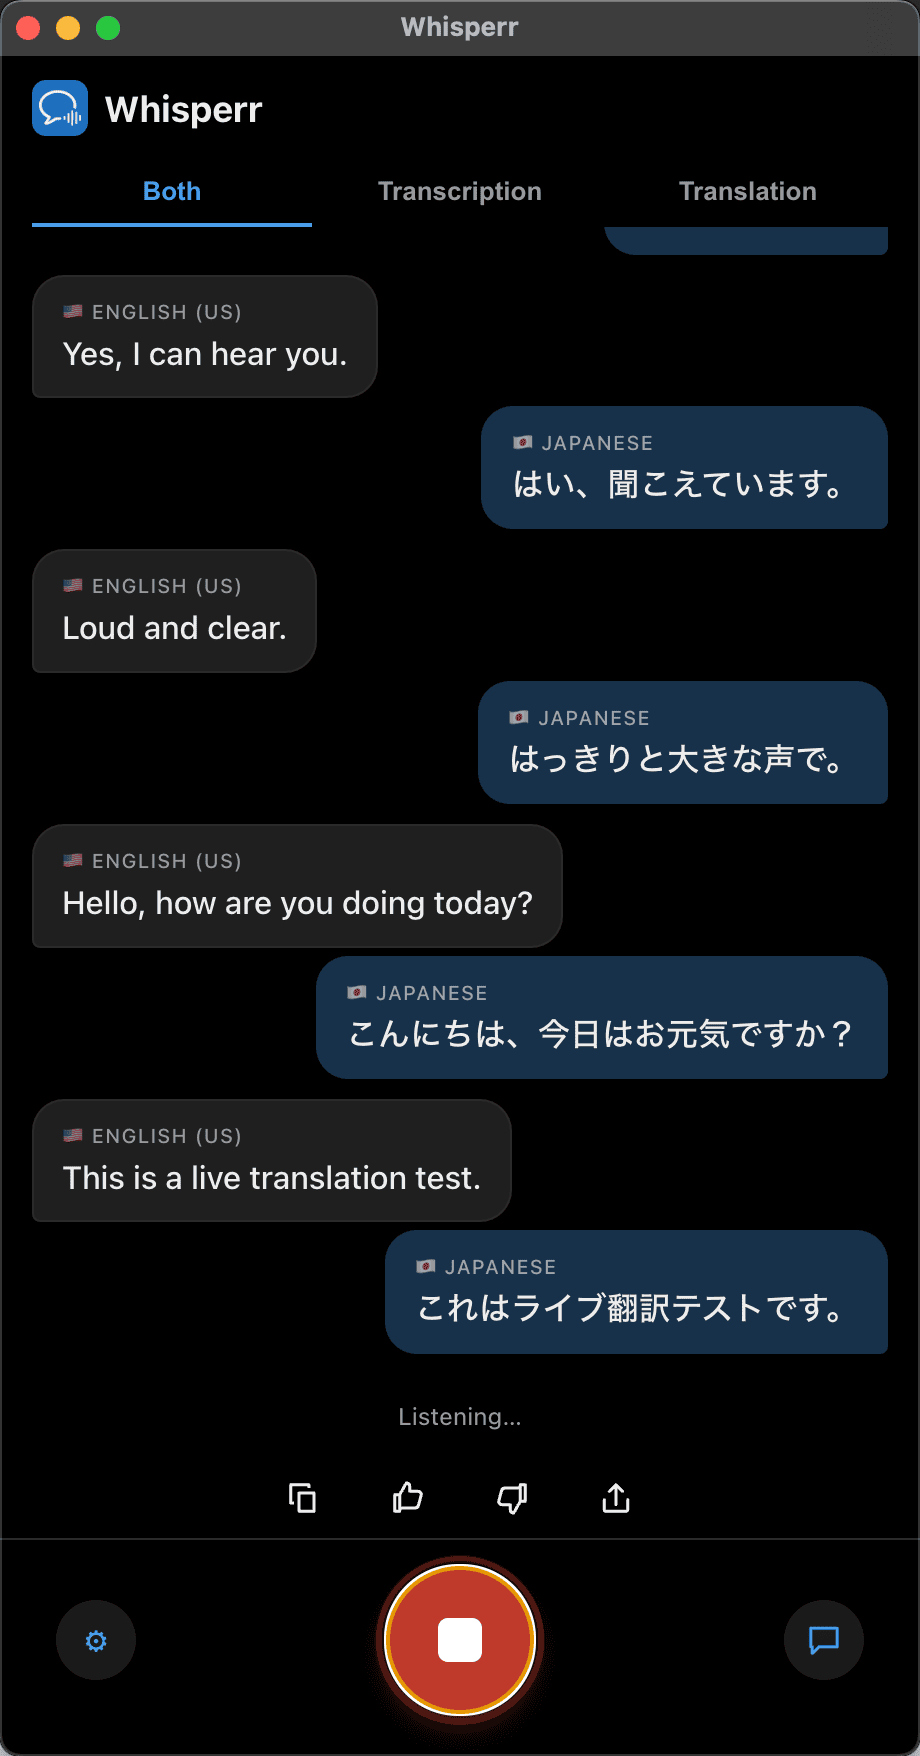
Speak (or point your Mac toward the speaker) and your words appear as transcription bubbles, each followed by its translation. Use the Both / Transcription / Translation tabs to choose what's shown, and click the record button again to stop.
Common Issues (Mac)
Microphone permission is disabled
Whisperr needs microphone access to transcribe. If no transcription appears, enable it from system settings:
- Open System Settings
- Go to Privacy & Security > Microphone
- Turn on Whisperr
Wrong input device
Confirm the correct input device under System Settings > Sound > Input.
System audio is selected instead of Microphone
If nothing is transcribed from your voice, check the source toggle above the transcript — make sure 🎙️ Microphone (not System audio) is highlighted.
Still nothing
Restart the app and try again.
Still not working? Contact Support
Related
- Microphone Audio Capture (overview) — how it works, supported platforms, and general tips
- On iPhone/iPad · On Android · On the Web App · On Windows
- In-Person Meetings — best setup for face-to-face conversations