Speech Mode on iPhone and iPad
This page covers the iPhone/iPad setup for Speech Mode. For how it works and use cases, see the Speech Mode overview.
How to Use Speech Mode on iPhone/iPad
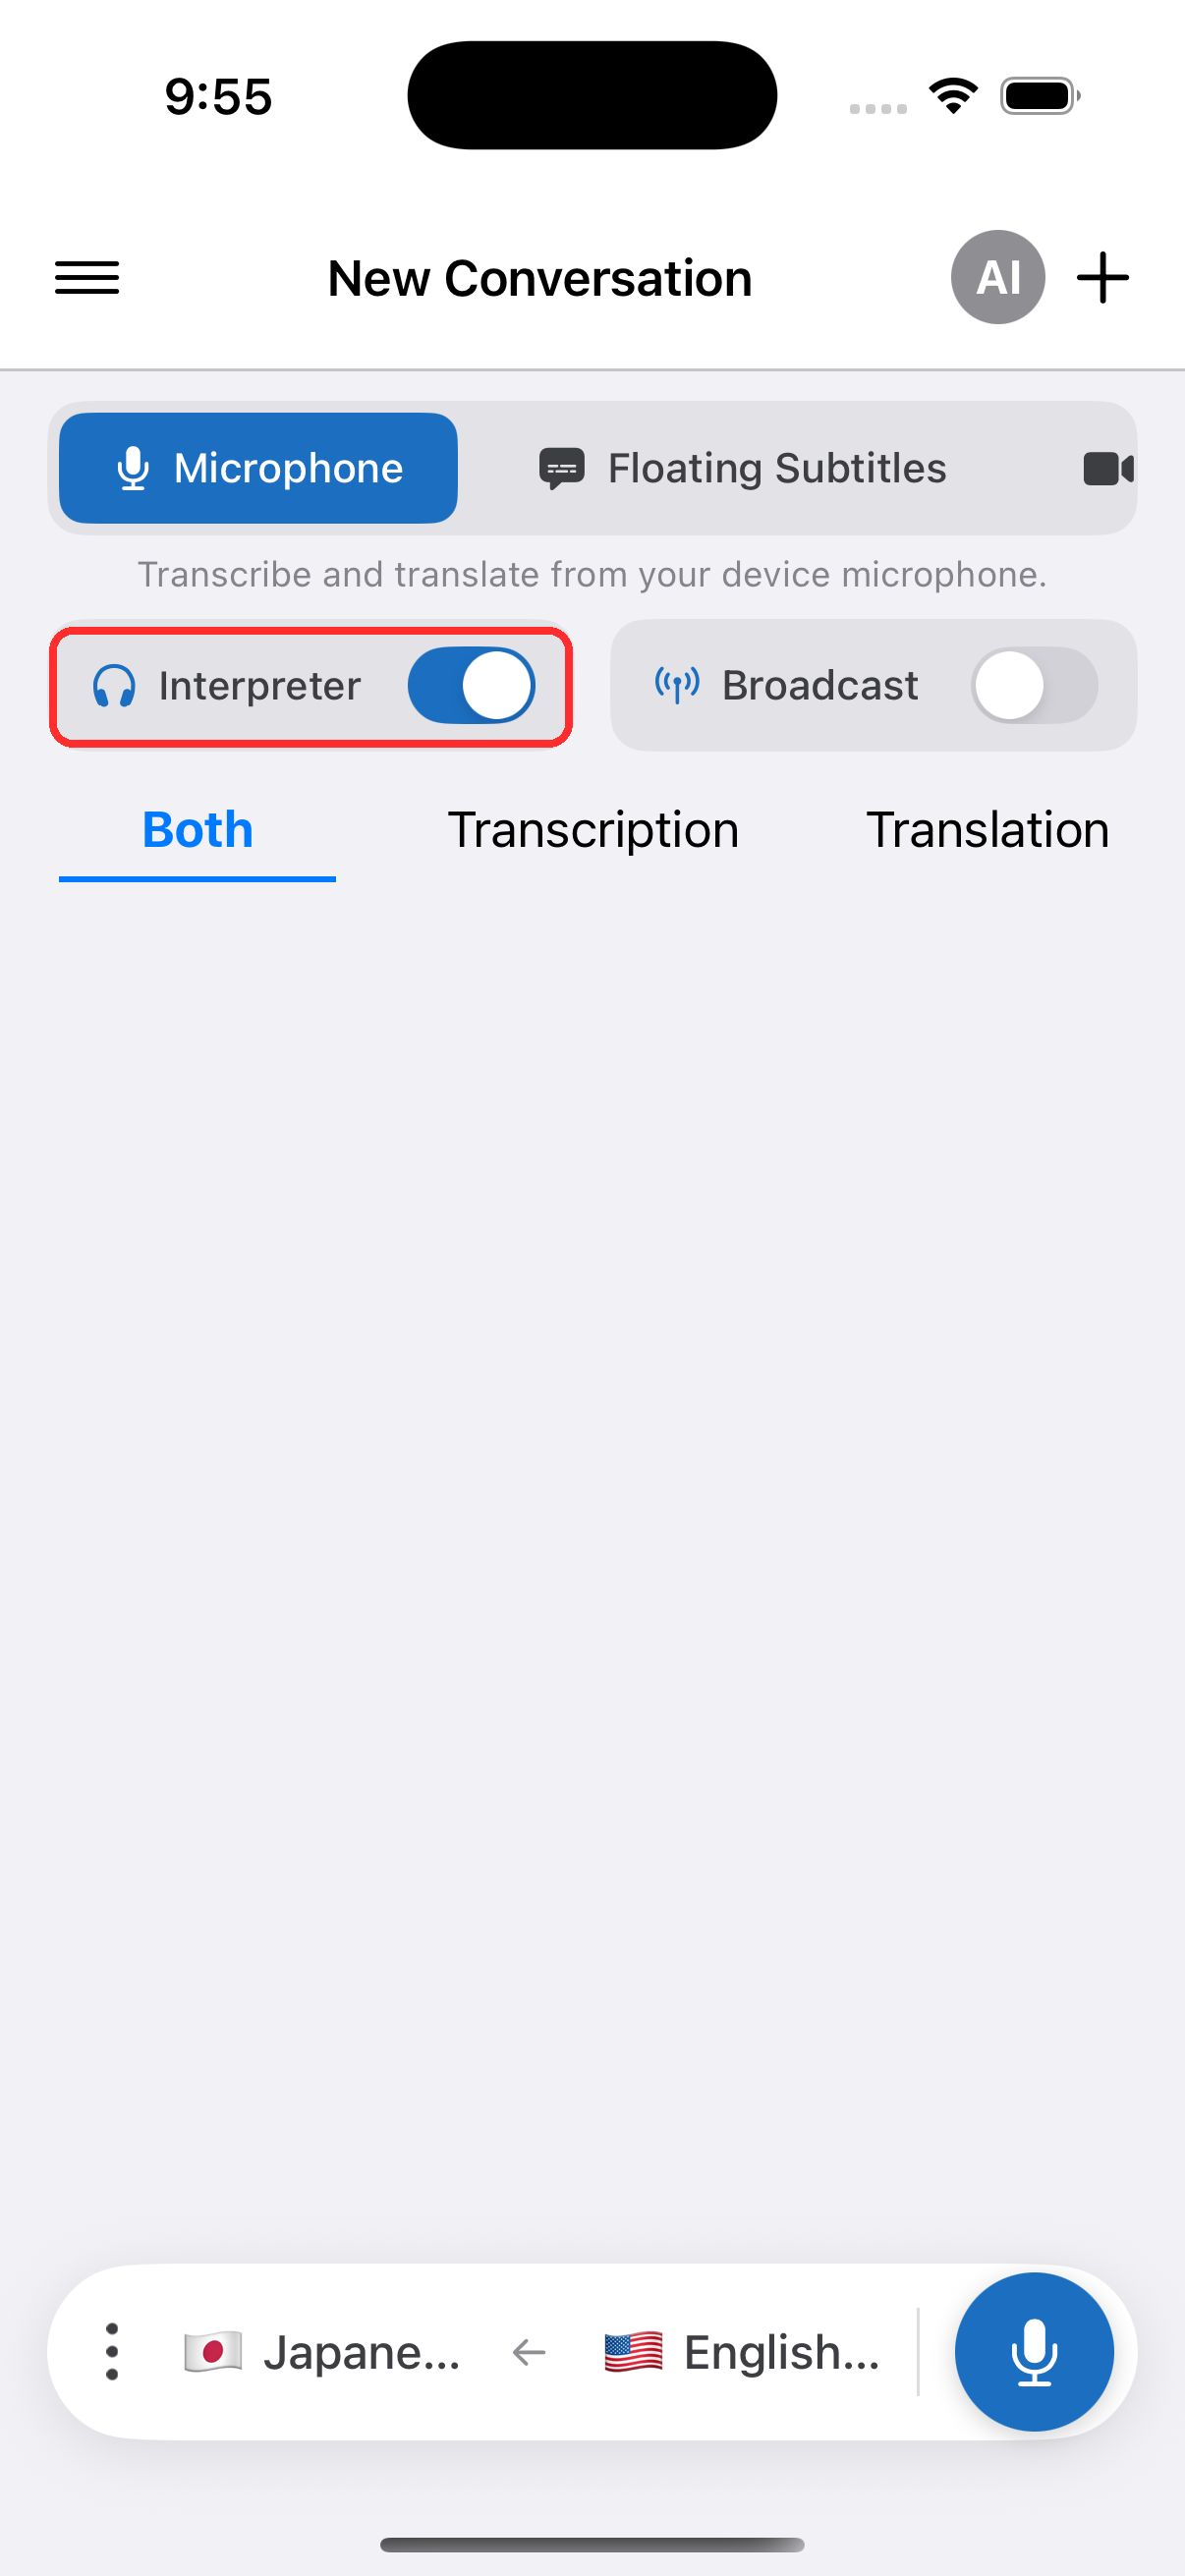
On iPhone and iPad, Speech Mode is the Interpreter toggle on the main screen.
- Open the Whisperr app
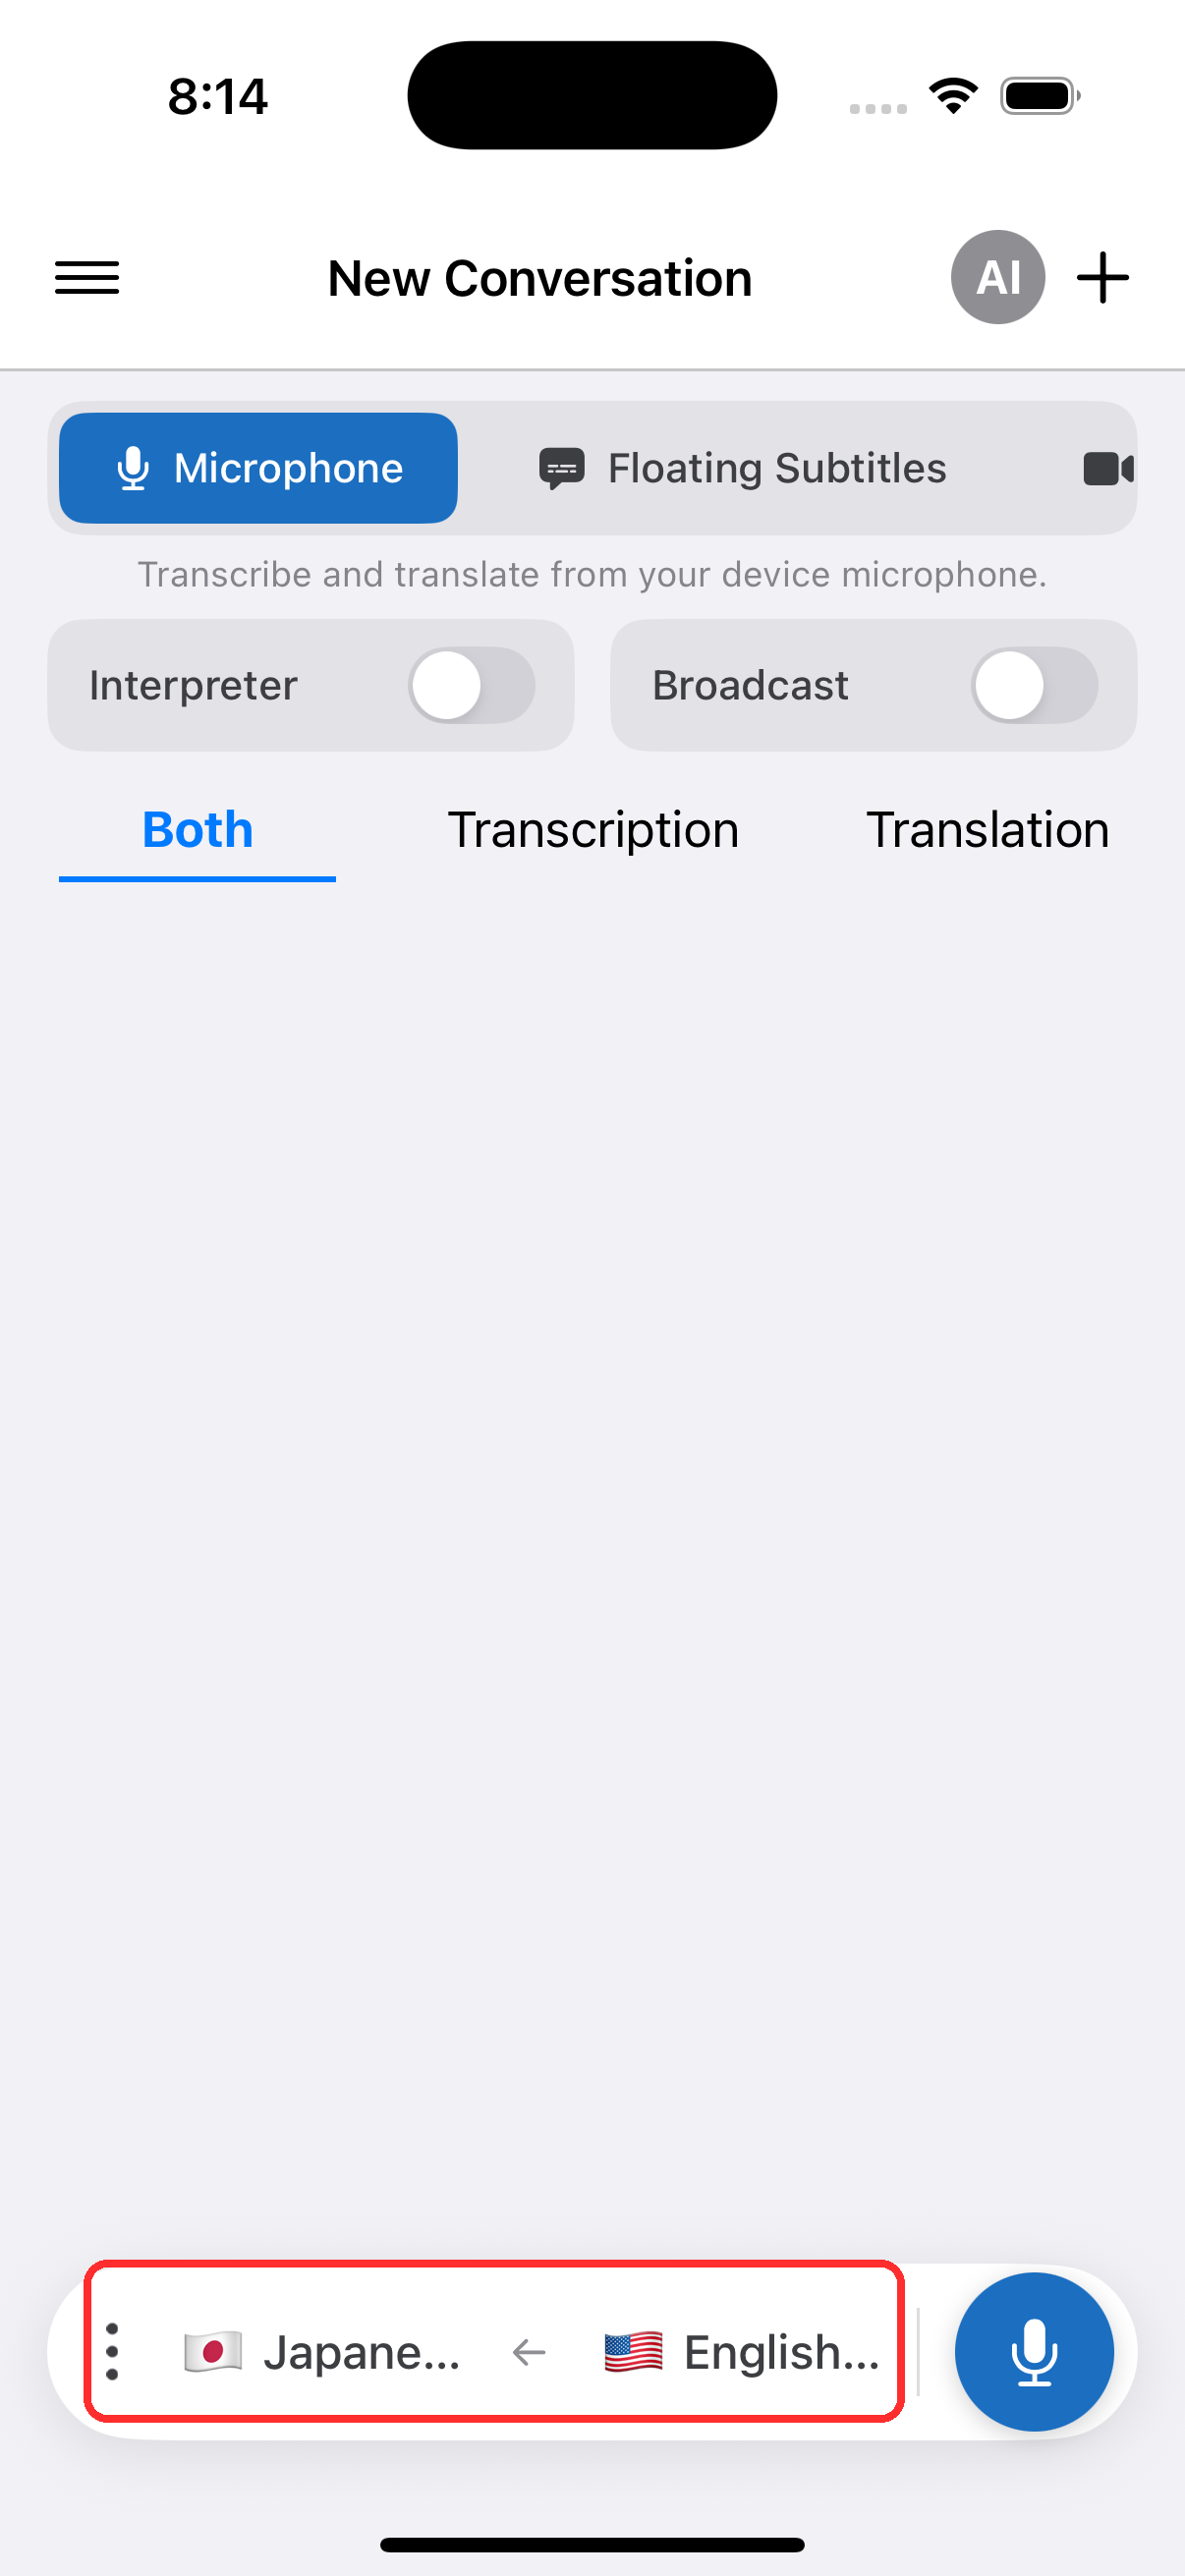
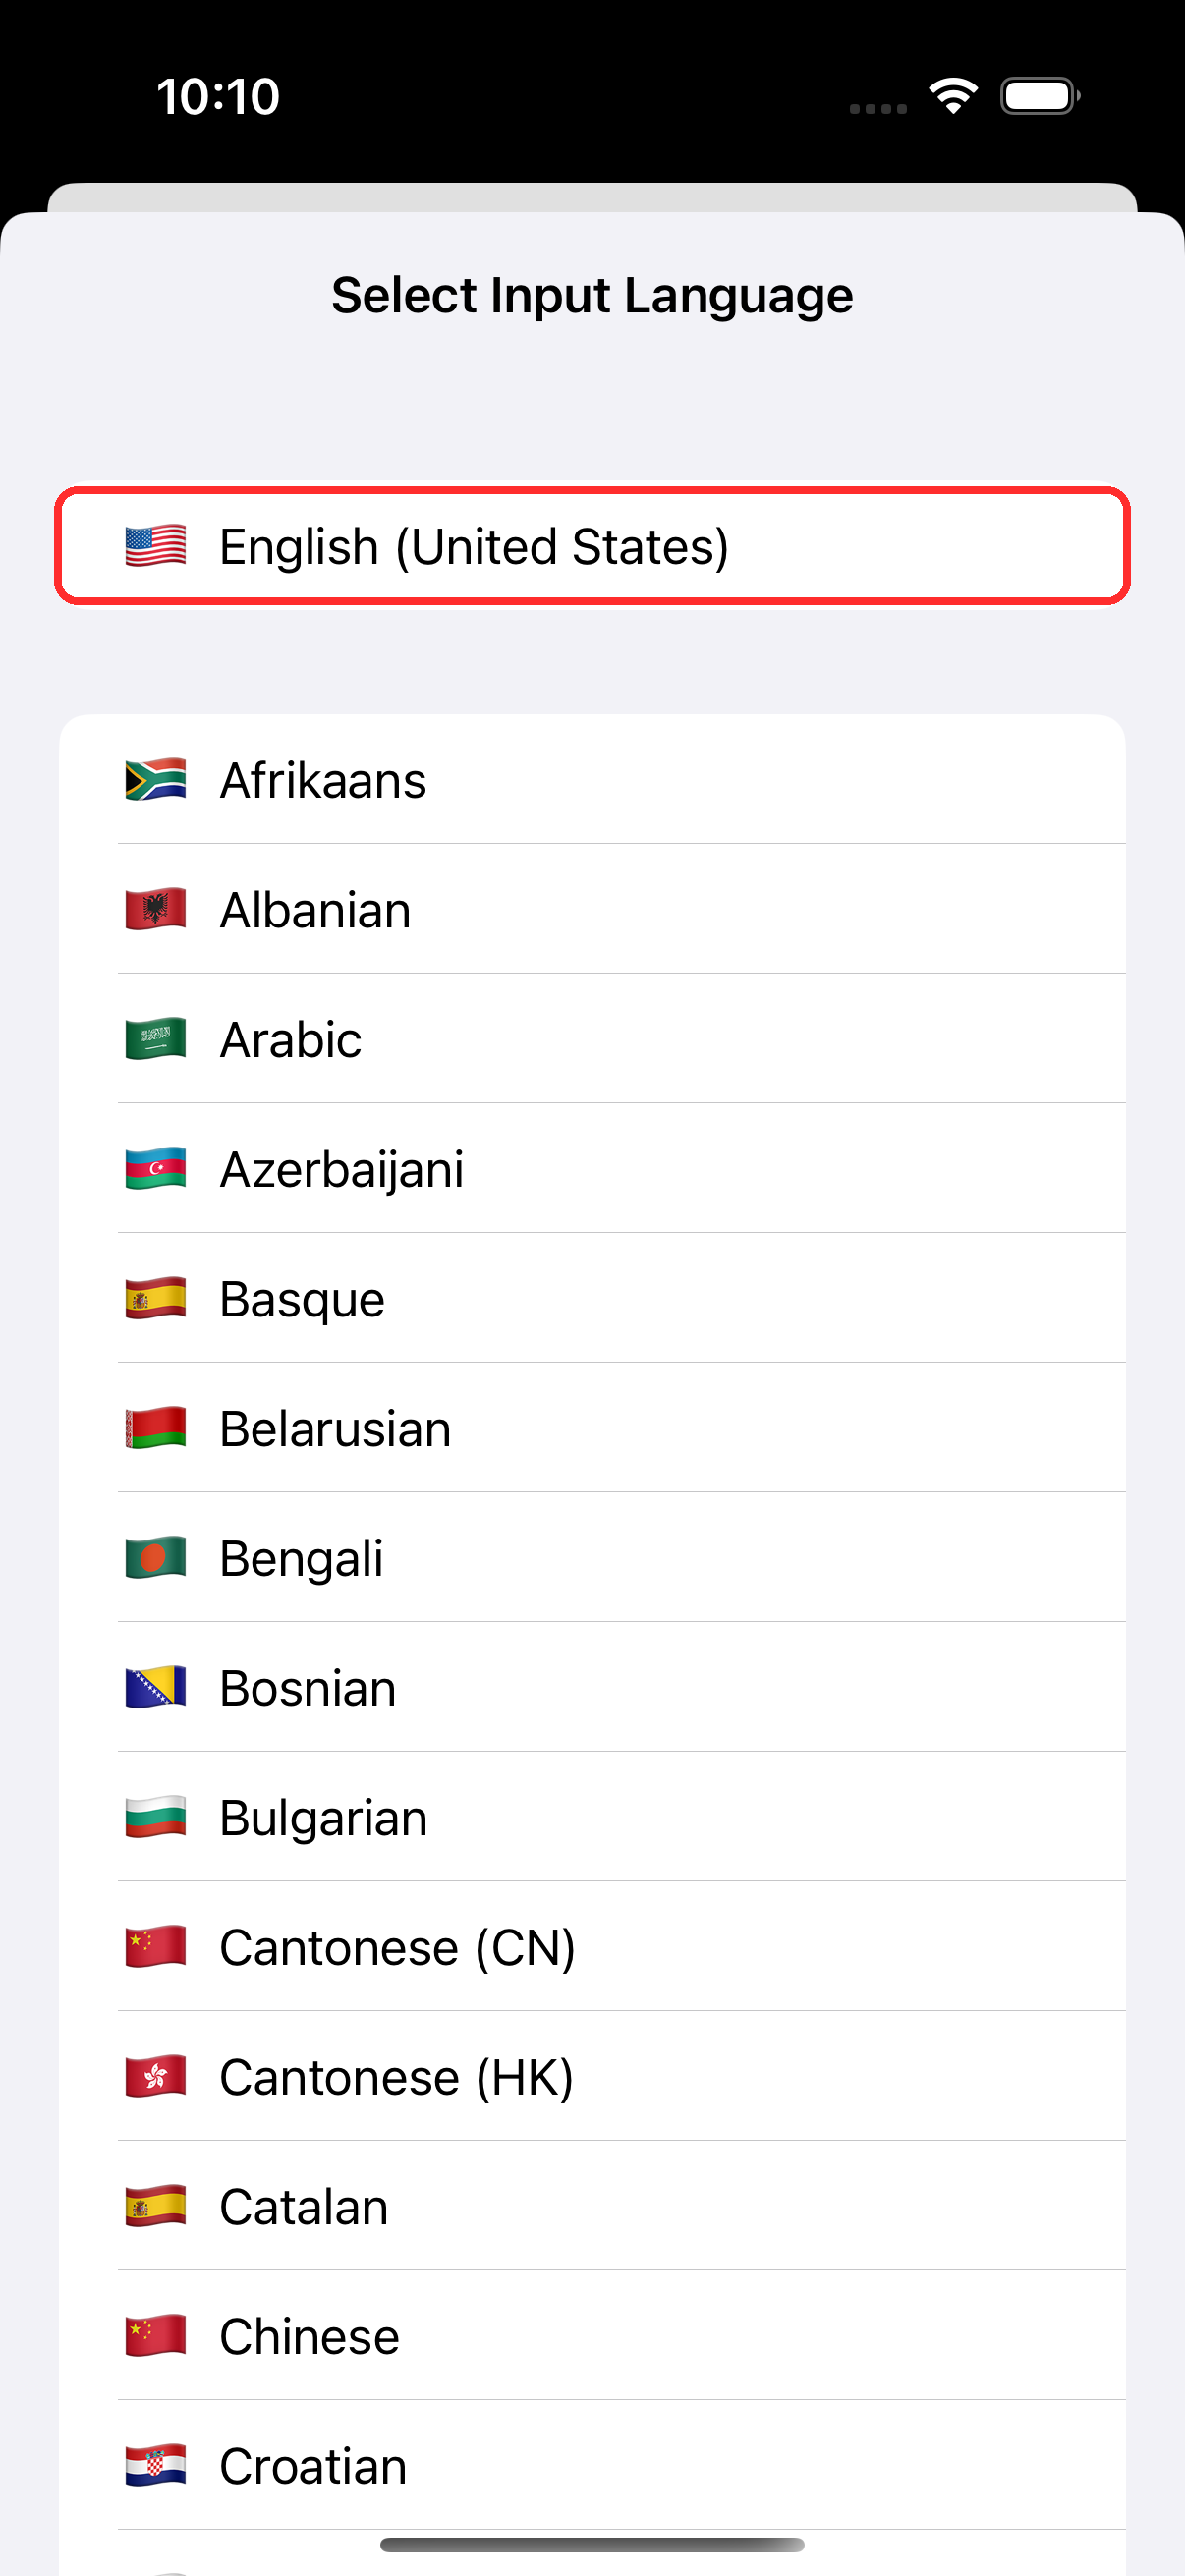
- Select your source language (what you'll be hearing) and target language (what you want spoken back) in the bar at the bottom
- Turn on the Interpreter toggle — Whisperr will speak each translated line aloud as it appears
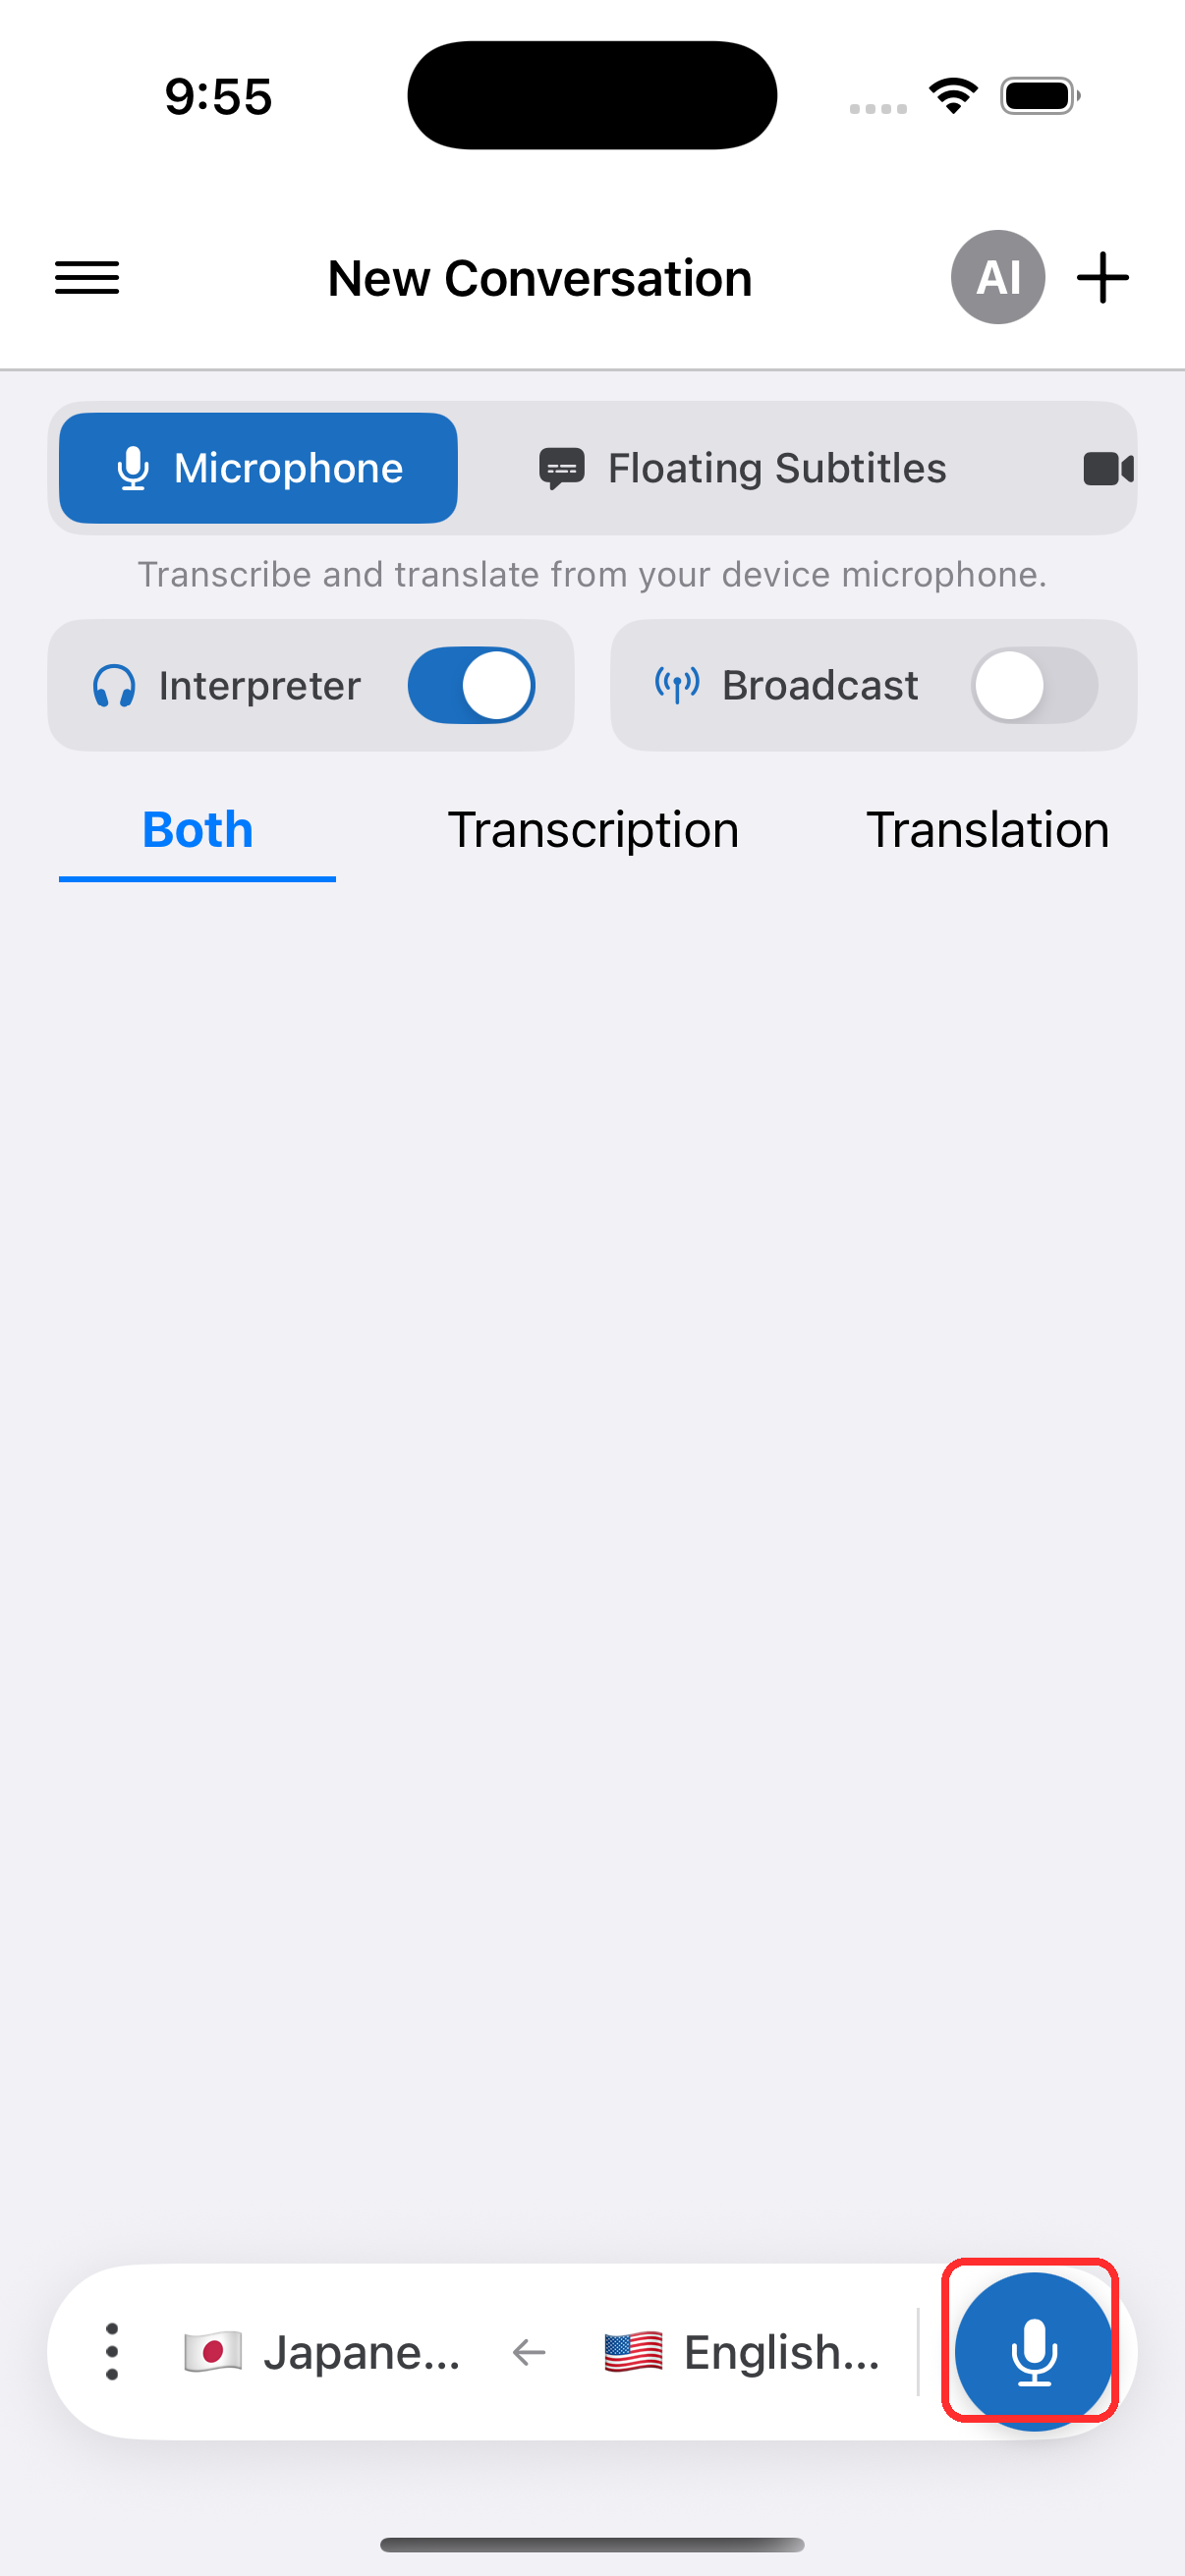
- Tap the record button to start, and allow microphone access when prompted
- Optionally connect headphones or AirPods for private listening — or, if you're using the loudspeaker, leave Echo Cancellation on in Settings (it is on by default) so the spoken translation isn't picked back up by the mic and translated again. See Echo Cancellation on iPhone & Android.
Turn the Interpreter toggle off again to silence the spoken audio while keeping the on-screen translation running.
Choosing the Voice
A Voice picker sits with the speech controls — in the speech panel of the recording controls, and again under Settings, so you can set it before a recording as well as during one:
- Auto (default) — Whisperr reads translations in the standard voice for your target language
- Male / Female — every line is read in a fixed male or female voice instead, whoever is speaking
Change the voice mid-conversation and it applies from the next spoken line; your choice is remembered for next time.
Matching the voice to each individual speaker is available in the Web App — see Choosing the Voice in the overview, and Voice Support by Language for what each language supports.
Related
- Speech Mode (overview) — how it works, use cases, and general tips
- On Android · On the Web App · On Mac · On Windows
- Echo Cancellation — stop the spoken translation looping back into the mic
- Microphone Audio Capture — how Whisperr captures the input audio
- Floating Subtitles — keep translations visible while using other apps