How to Live Translate Webex Meetings from the Viewer Side?

You're in a Webex meeting where the other person speaks a language you can almost follow, but not at full speed. You don't want to make them slow down, switch settings, or repeat themselves. You just want a private speech translator that runs on your side of the screen and turns what they say into the language you understand best.
That's exactly what a browser-tab capture setup gives you. It turns any Webex meeting into a free personal interpreter, one that nobody else on the call can see, that you control entirely, and that you can point at any language pair.
This guide walks through the one reliable way to do it, end to end.
Why Webex Doesn't Hand You a Free Personal Interpreter
Webex real-time translation isn't free for most people. Live translated captions sit behind a paid add-on or a higher-tier plan, and even then they're built for the whole meeting rather than a private feed that's just for you. There's no toggle that says "translate only the other person, only into my language, only on my screen."
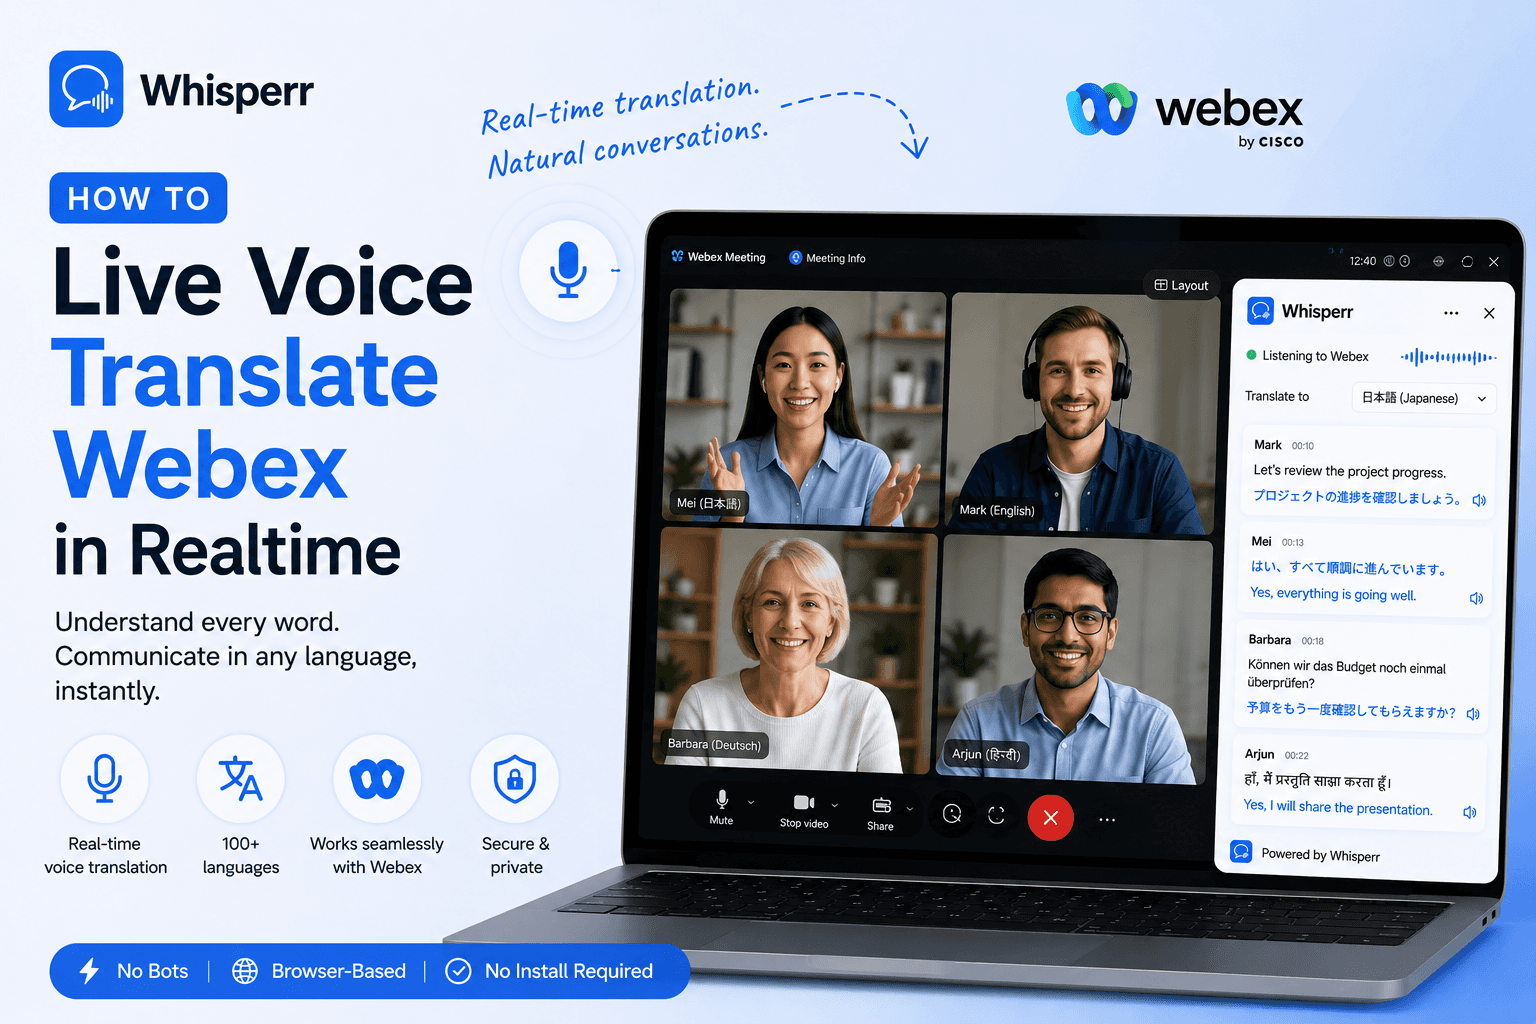
The workaround is to treat the Webex audio like any other audio source and pipe it into a translation layer that runs alongside the meeting. Whisperr is built exactly for that. It captures whatever audio is playing in a browser tab and gives you live voice translate captions in 100+ language pairs. Point it at your Webex tab, pick your languages, and you've got a realtime voice translator working for you.
This is the same browser tab-capture pattern used for Microsoft Teams meetings and Zoom calls. Webex is just one more audio source it works with.
What You Need Before You Start
- A Whisperr account. The free tier is enough for short meetings.
- A laptop or desktop with any modern browser (Chrome, Edge, Firefox, Safari, Brave, Arc, or anything Chromium-based).
- The Webex meeting link for your call.
The One Way That Works: Capture Webex in a Browser Tab
This is the cleanest setup. You join the Webex meeting in a browser tab and let Whisperr capture the tab audio directly. No microphone, no speaker, no second device. The audio goes from Webex's web player straight into Whisperr, before it ever reaches your ears. It works with headphones or AirPods too, because the capture happens digitally.
Step 1: Open Your Webex Meeting in a Browser Tab

Click your Webex meeting link. When Webex prompts you, choose Join from your browser instead of opening the desktop app. This is the one non-obvious detail of the whole setup. Whisperr captures audio from a browser tab, so the meeting needs to be playing in a tab, not the standalone Webex app. Any modern browser works here.
Step 2: Open the Whisperr Web App in a Second Tab

In a new tab, open the Whisperr web app and sign in. Don't close the Webex tab. Whisperr needs it open and playing to capture the audio.
Step 3: Pick the Two Languages

Use the two language dropdowns at the top of the Whisperr interface and pick the two languages on the call, for example English and Japanese. You don't have to label one as the source and one as the target. Whisperr does two-way voice translation by default, so it handles both directions and the order doesn't matter. If you only want one direction, see the next step.
Step 4: Keep It Two-Way, or Set One Direction (Your Choice)


By default Whisperr translates both ways, which is fine for most meetings. If you'd rather keep it clean and only read the other person, tap the arrow button between the two language selectors to switch to one direction. That way it only translates one way, from the other person's language into yours, and you won't see the translations you don't want. For a tidy Japanese-to-English (or English-to-Japanese) feed, this gives you a single, clean stream that reads like a private interpreter.
Step 5: Enable Live Speech

To hear the translation read aloud, enable "Auto-speak translations" and, if you like, set the Speaking speed to whatever suits your ears. Use headphones so only you hear it.
Step 6: Start a New Recording and Choose Screen Capture

Click New Recording, then click the recording icon and choose Screen Capture. A picker pops up.
Step 7: Pick the Webex Tab and Share Its Audio

In the picker, choose the Tabs option, select your Webex meeting tab, make sure Share tab audio is ticked, and click Share. Whisperr immediately starts capturing the meeting audio.
If you forget to tick Share tab audio, Whisperr captures the video but no sound, and there's nothing to translate. This is the single most common mistake on this flow, so double-check the box before you hit Share.
Step 8: Split Screen for Readability

You can also split the Webex tab with Whisperr by clicking "New Split View with Current Tab", which lets you view both the Webex meeting and the live translations side by side.
Step 9: Listen and Read Along

That's it. The other person speaks normally, and live audio translate output comes through your speakers or headphones, while the translated captions stream onto your screen in your language. Nobody else on the call sees anything. Whisperr runs entirely on your side.
Why This Beats the Alternatives
- It's genuinely free for short meetings. The Whisperr free tier covers quick conversations, so you're not paying for Webex's real-time translation add-on or a higher-tier license just to understand one person.
- It's private. Whisperr runs in a separate tab on your machine. The other participants don't install anything, change any settings, or even know it's there.
- You decide the direction. Two-way voice translation is on by default, or you can switch to one direction so you only read the other person, with no extra clutter.
- It works without a loud speaker. Tab capture grabs the audio digitally, so you can wear headphones or AirPods. Useful late at night, in a shared space, or an open office.
- It's platform-agnostic. The same tab-capture flow works on Zoom, Microsoft Teams, Google Meet, YouTube, Discord, and any other audio playing in a browser tab. One workflow, every platform.
- 100+ language pairs, including the long tail most consumer tools under-serve: English to Japanese, Korean to English, Spanish to English, Russian to English, Mandarin, Vietnamese, Portuguese, Polish, Thai, and the rest.
Frequently Asked Questions
Does Webex have a free built-in interpreter just for me?
Not really. Webex's real-time translation requires a paid add-on or higher-tier plan, and it's designed for the whole meeting rather than a private feed for a single person. Running Whisperr alongside the meeting is what gives you a personal speech translator on the free tier.
Will the other person know I'm using it?
No. Whisperr runs in a separate browser tab on your screen, not inside the Webex meeting. Nothing appears on their end.
Can I read only the other person and not my own speech?
Yes. Whisperr is two-way by default, but you can tap the arrow button to set one direction. Then it only translates the other person into your language, and you won't see the translations you don't want.
Do I need to set a source and target language?
No. You just pick the two languages and Whisperr handles voice translation both ways automatically. Setting a direction is optional.
Do I need a loud speaker for this?
No. Tab capture pulls the audio digitally before it reaches your output device, so headphones and AirPods work fine.
Try It on Your Next Webex Meeting
The whole flow, top to bottom:
- Click your Webex link, then Join from your browser.
- Open the Whisperr web app in a second tab and sign in.
- Pick the two languages, for example English and Japanese. Two-way is on by default, or tap the arrow for one direction.
- New Recording, then Screen Capture, then the Tabs option, pick the Webex tab (with Share tab audio ticked), and click Share.
- Read along. Your own realtime voice translator, just for you.
Start a free session at the Whisperr web app.

Live-translate any Webex call in 100+ languages with Whisperr. Two methods: browser tab capture or microphone. Invisible to attendees, sub-second, two-way.